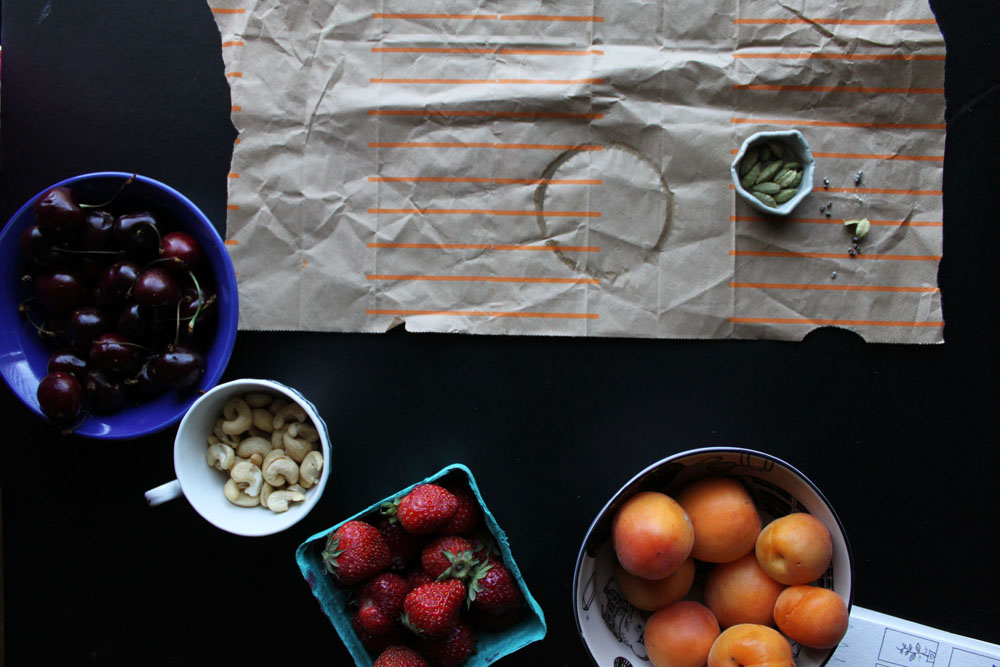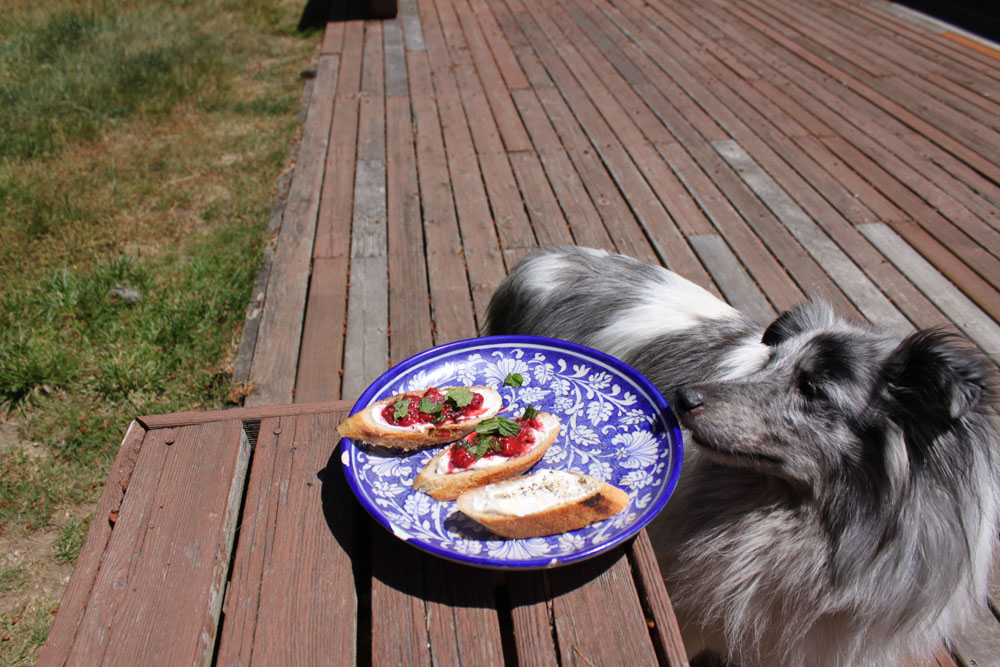
You see that deck in the photo above? It needs sanding. There are a few beams that have seen better days and I worry about falling through. To the right and not pictured is a door that leads you into the kitchen. I have gone from having only one door open, to no doors open to both doors open while I’m in there. There is no clearer sign for me to stop what I’m doing and notice that I don’t feel the weather. That really is the best feeling. I portion out blog/other eating tasks like they were their own ingredients. I break it down so that I don’t have to miss out on other things. Mostly, I just want to stand near the door eating cherries and spitting the seeds as far as I can, in the hope that I’ll have a surprise tree next year.
You see that dog in the photo? Say hi to Chevy. He sees nothing beyond food. He and the brother that he didn’t choose are having the best time chasing squirrels. It’s their only job and they do it well. They are the happiest when that door knob clicks signalling that the yard is theirs. They can chase to their hearts content and then track all the insects, trees branches, those things that fall out of pine trees and dirt into the kitchen. I won’t be mad.
You see me sitting behind this computer screen? Of course you don’t. I’m hammering at the keys trying to think of exciting things to say. I may or may not want to swim in the lake on Saturday. I may go on a hike or 5. I may not go camping for the first time this year. Whatever. I grew peas. I ate them. They were so sweet. I made an ice-cream sandwich and ate it outside so it would get melty. I won’t see my family until December. I’m going to volunteer at Rock Camp! I will be IN Rock Camp. I haven’t decided between bass and drums. I have countless plans of feeling, truly feeling summer breezes. This is not a list. I realise that I can’t measure my life in list form. I would only put climb mountains if I could.
Maybe that’s what I need to do. That and try not to fall through the deck.
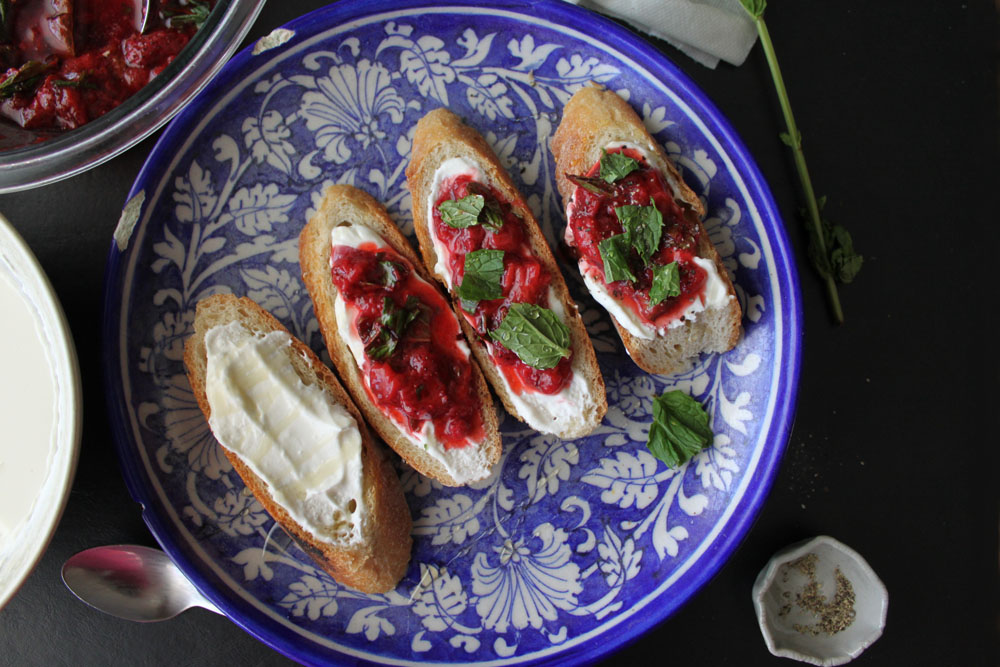
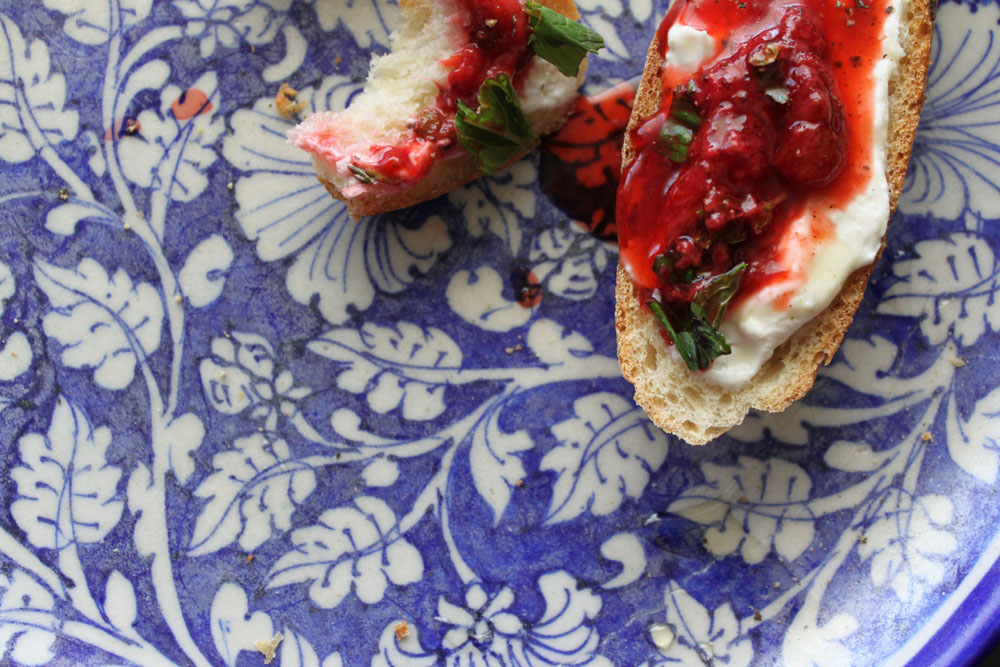
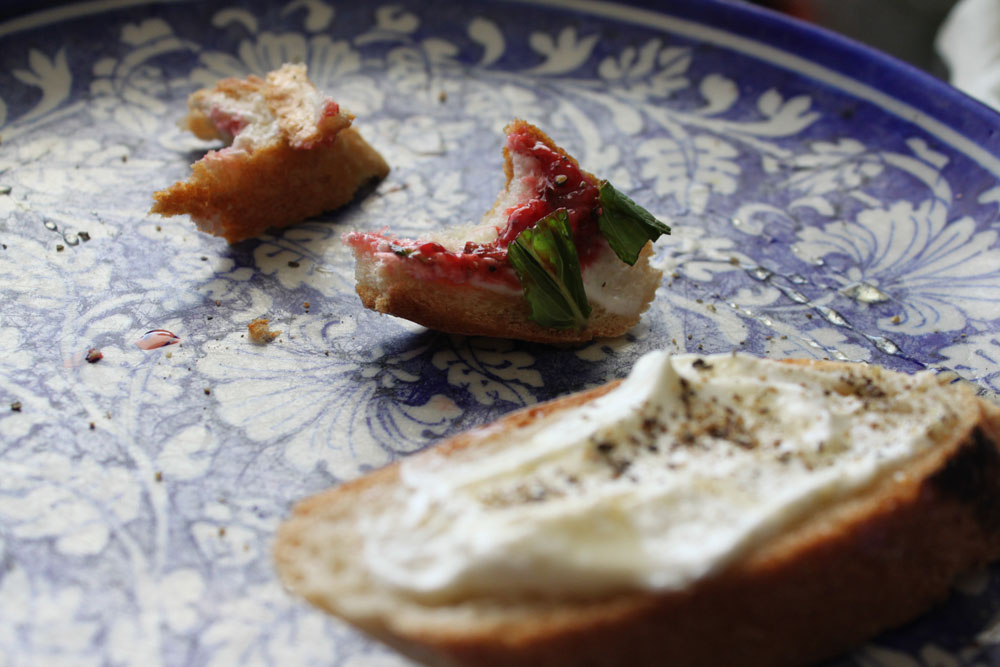
Strawberries and cream crostini

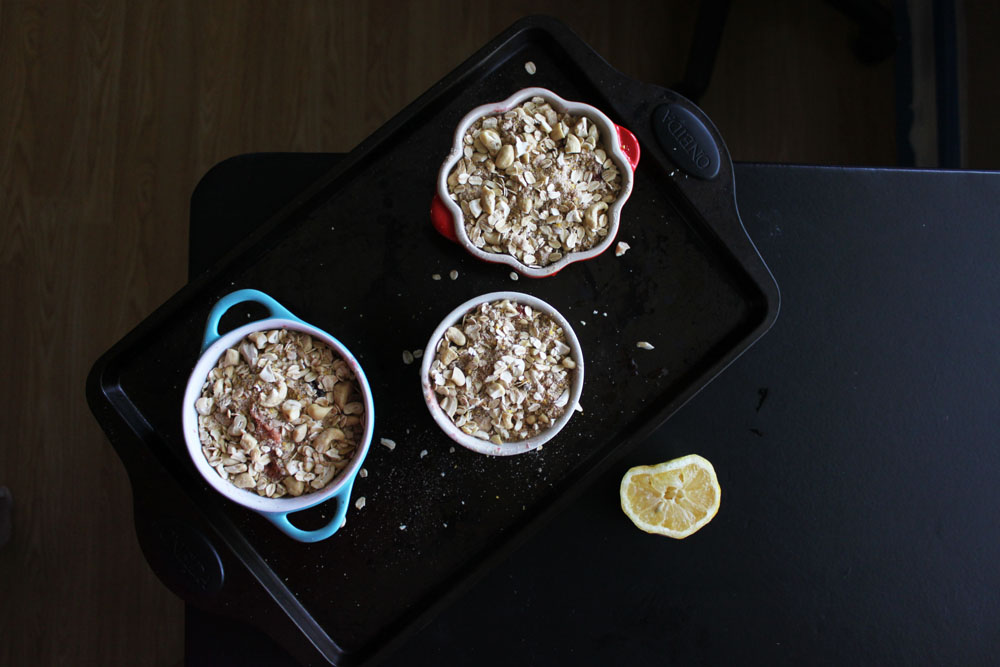
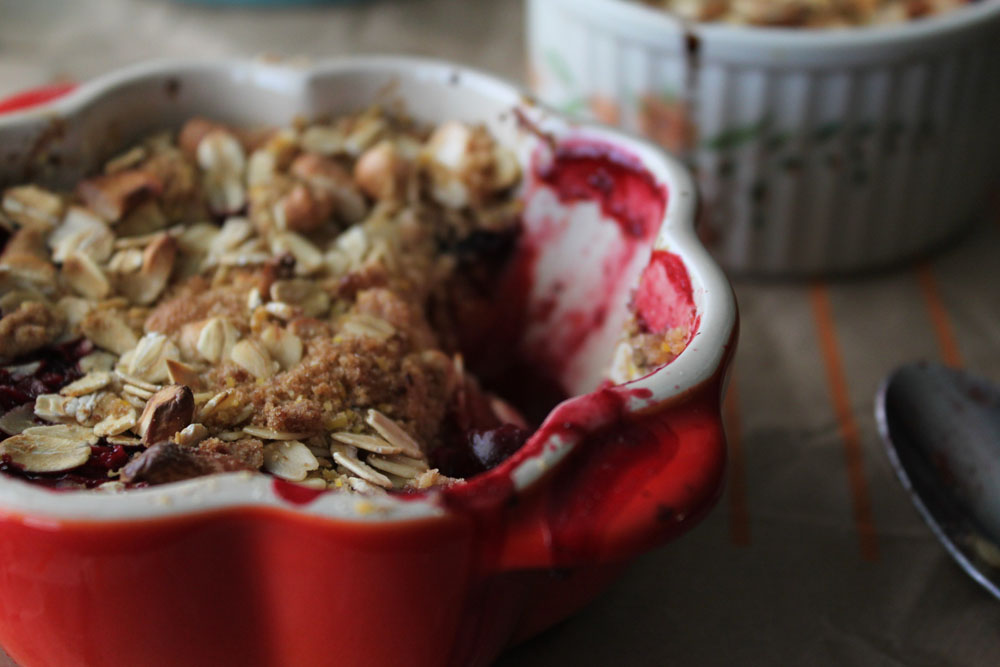
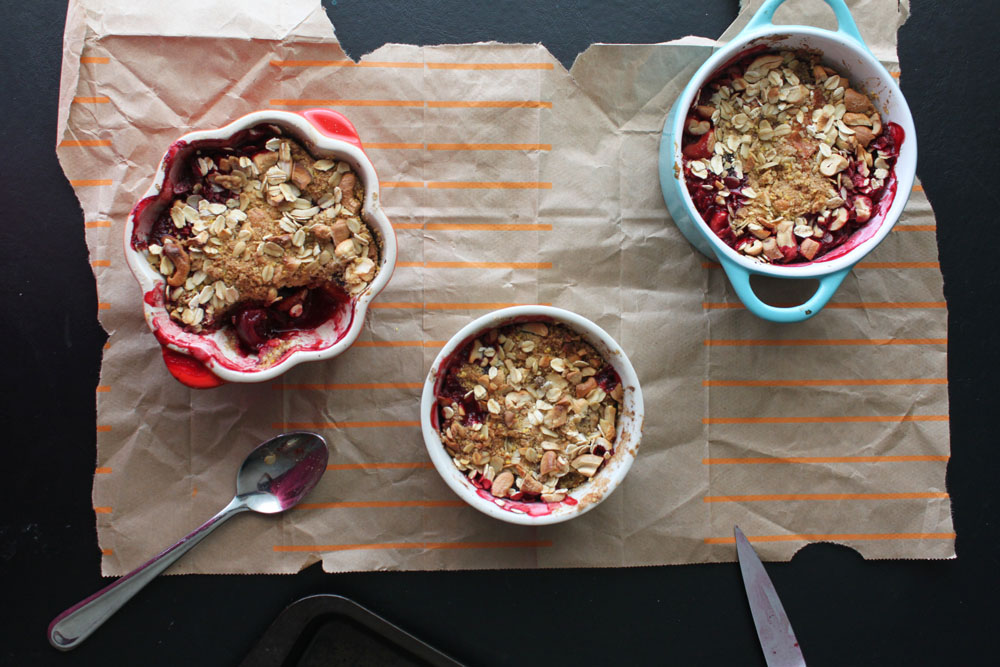
The best part about this recipe is that it’s not really a recipe. I like taking basic ingredients and elevating them with the most minor albeit delicious adjustments. That’s how we should all cook in peak growing season – do more with less. This crostini (little toast) breaks up the tasks required to put it together. So if you feel like doing this all on one day, you can. But if you feel like going at your own pace, that’s also acceptable.
The creme fraiche will need to be made 2-3 days ahead. If you want to skip this step, you can just whip a cup of heavy whipping cream together with a teaspoon of lemon juice until it form stiff peaks. You can also buy packaged creme fraiche in some stores.
Ingredients
For the creme fraiche
From Renee Erickson’s A Boat, A Whale and A Walrus as seen on The Vanilla Bean Blog
- 1 1/2 cups heavy whipping cream
- 1/2 cup buttermilk
Whisk the ingredients together in a bowl until combined. Cover the bowl with 2 layers or cheesecloth/muslin cloth and let it sit on your kitchen counter at room temperature for 2-3 days. When it’s ready, stir it gently and spoon it into a jar. Place the jar into the fridge until it’s ready to use. The creme fraiche should keep in the fridge for a week.
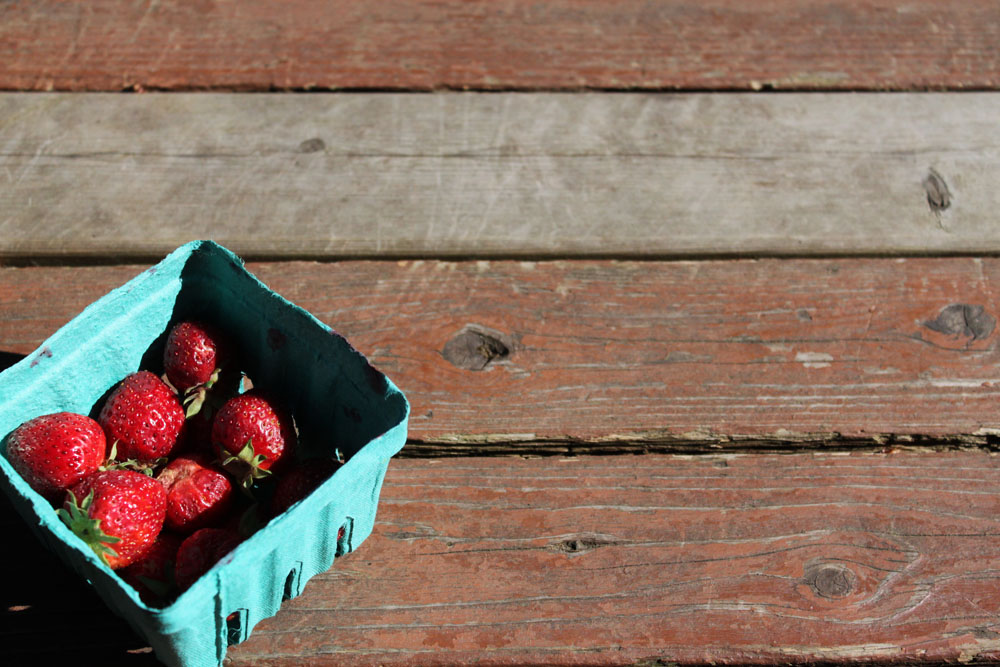
For the roasted strawberries
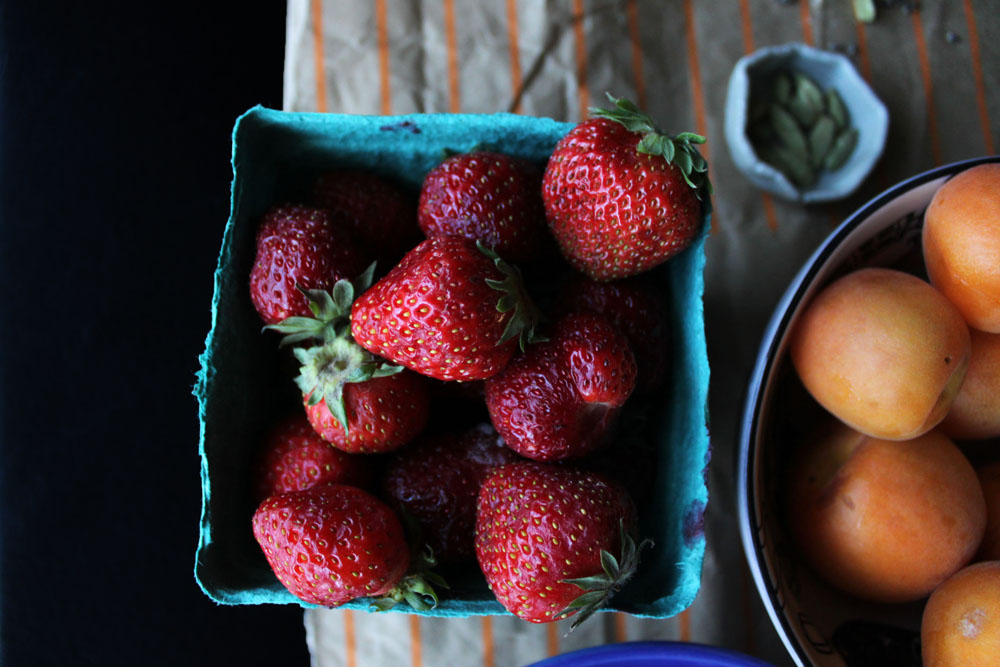
- 1 pint strawberries, tops removed and halved
- 1 tsp cane sugar (add more or less depending on how sweet or tart the strawberries are)
- A pinch of sea salt
- 1/4 cup of fresh mint leaves, whole or coarsley chopped
Heat the oven to 375F. Line a cake tin with foil.
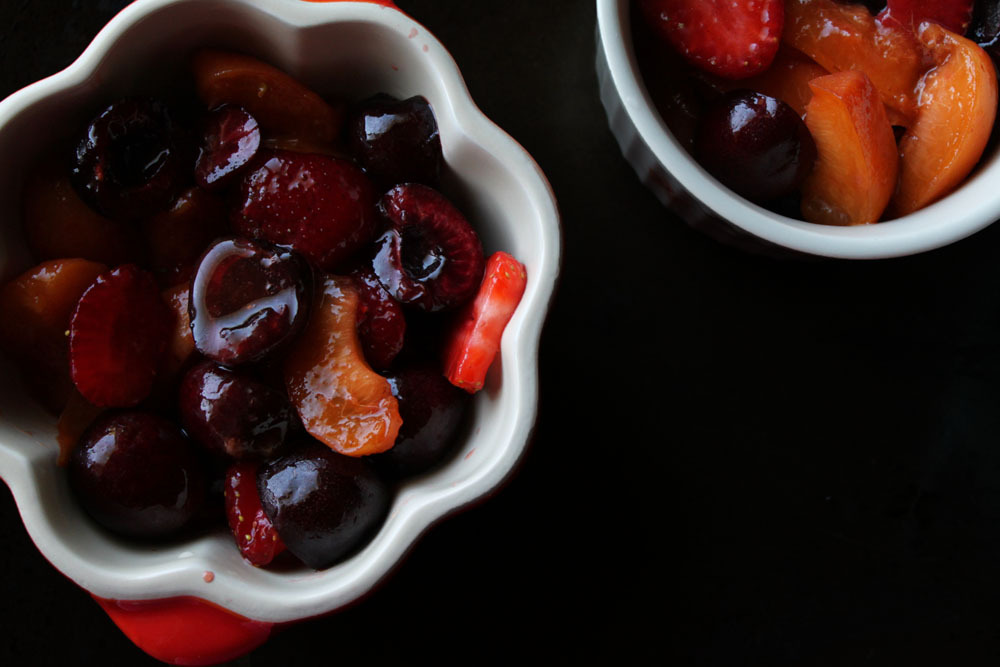
Place the strawberries into the foil and toss with the sugar and a pinch of salt. Put them in the oven for 30-40 minutes until the juices have thickened. Take the cake tin out of the oven and let the strawberries cool. Pour the strawberries – juices and all – into a small bowl. Sprinkle the fresh mint on top.
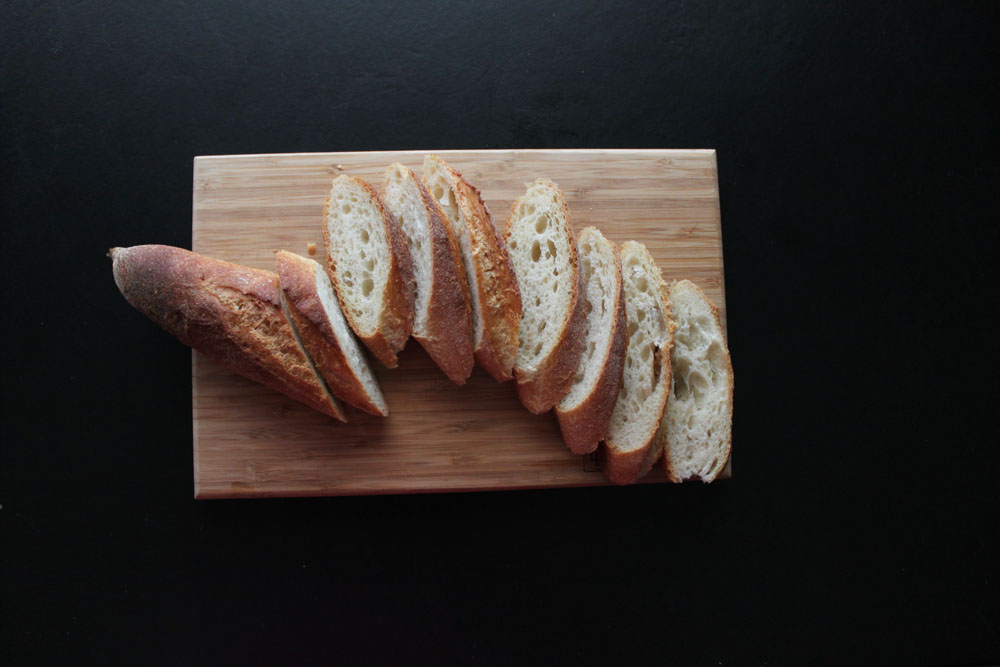
To assemble crostini
- 1 french baguette, toasted until crisp and sliced 1/4 inch thick
- Creme fraiche
- Roasted strawberries
- Honey
- Fresh pepper
- More fresh mint (optional)
Spread the creme fraiche on top of the bread. Spoon some of the roasted strawberries on top. Drizzle the top of the bread with honey. Sprinkle a little fresh pepper on top and add more fresh mint leaves, if you’d like.